


How to customise checkout form
Your checkout form is where customers complete their gift voucher purchase. In VaocherApp, you can fully customise how this form looks, what information you collect, and how the buying experience works.
This guide walks you through every setting available under Settings → Checkout, step by step.
How to access Checkout settings
- Log in to your VaocherApp dashboard
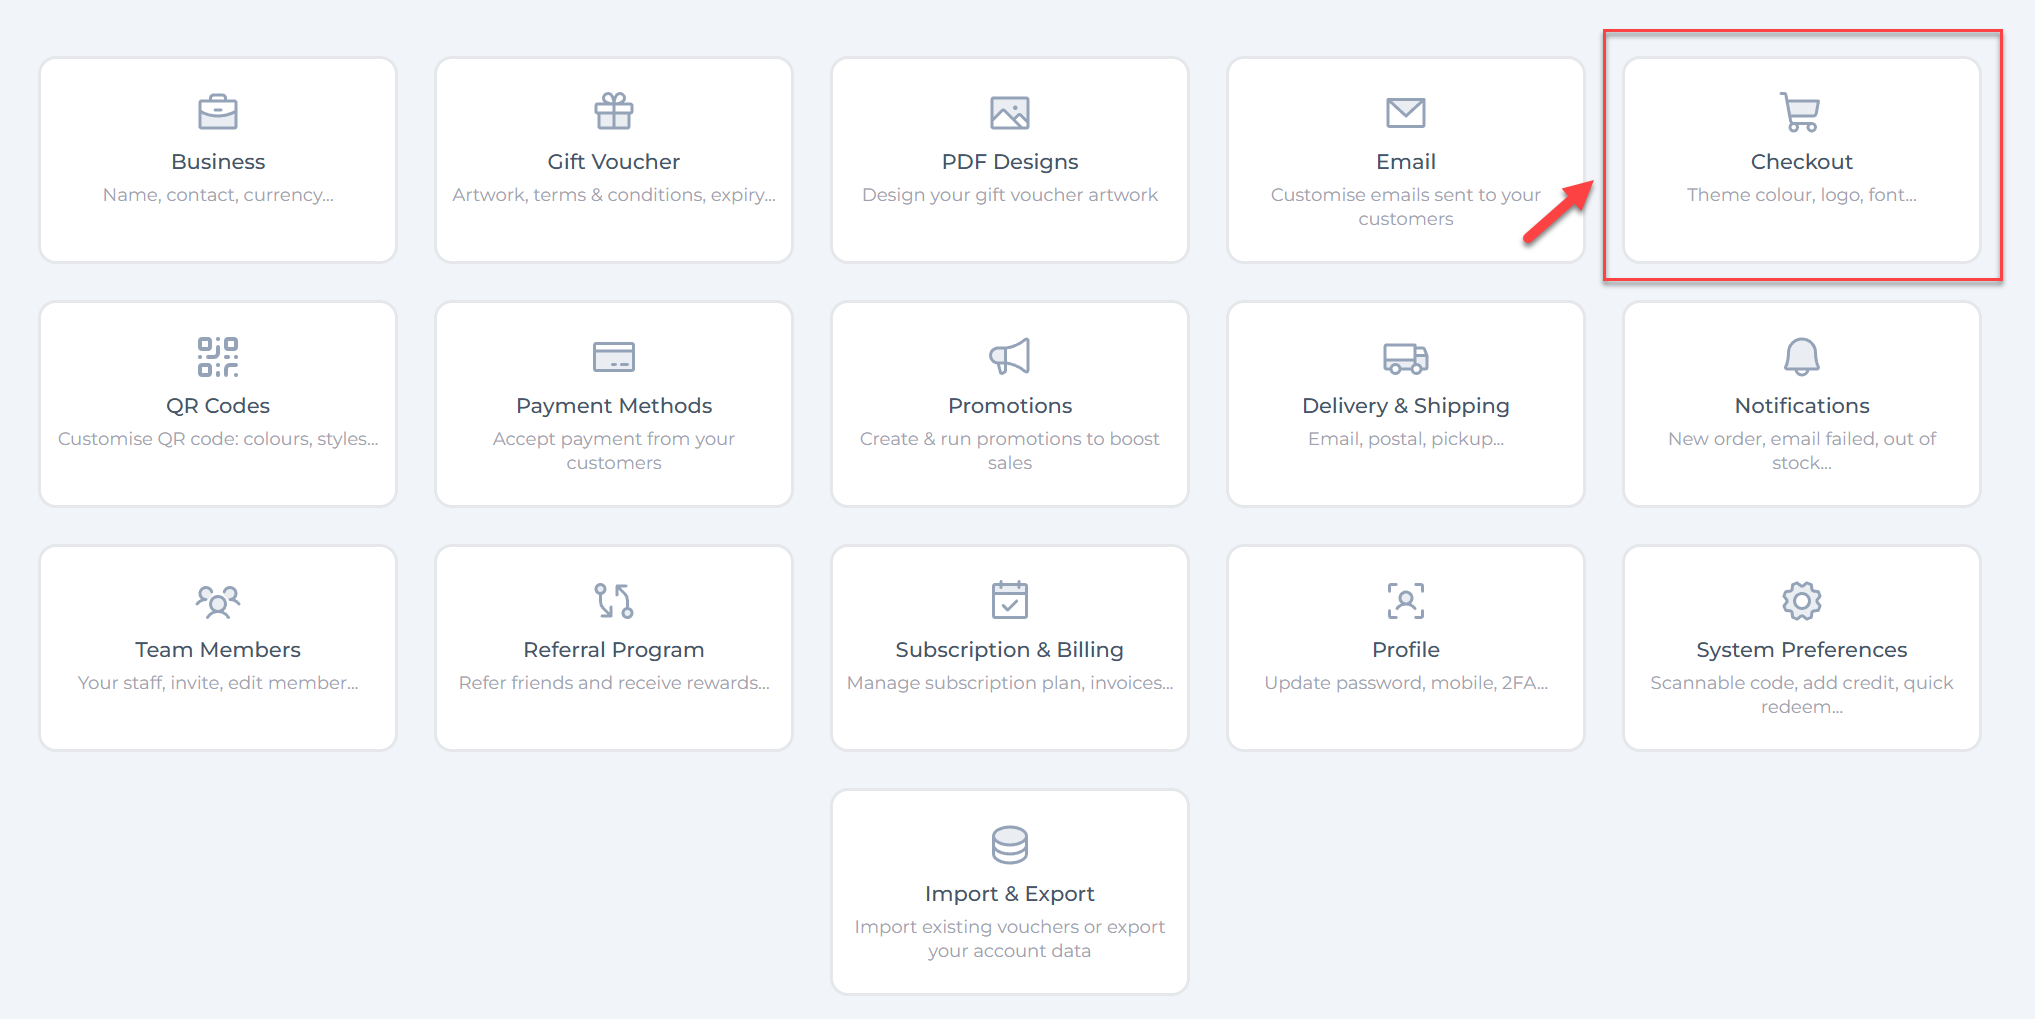
- Go to Settings
- Select Checkout
This page controls the design, language, fields, and behaviour of your checkout form.
Logo
Upload your logo to display it at the top of the checkout form.
- This helps customers recognise your brand
- Your logo appears above the checkout details
- Recommended logo size: 576px wide × 384px high
Best tips:
- Use a clear logo with good contrast
- Avoid very small text inside the logo
Layout and theme
Choose a theme
You can choose between:
- Light theme (dark text on light background)
- Dark theme (light text on dark background)
Choose the option that best matches your website style.
Use custom colours
Turn on Use custom colour to match your brand colours.
You can set:
- Primary colour
Used for the main checkout highlights and key elements - Secondary colour
Used for action buttons on the checkout, such as the Send instantly button
You can enter:
- HEX colours (for example
#767264) - RGB values
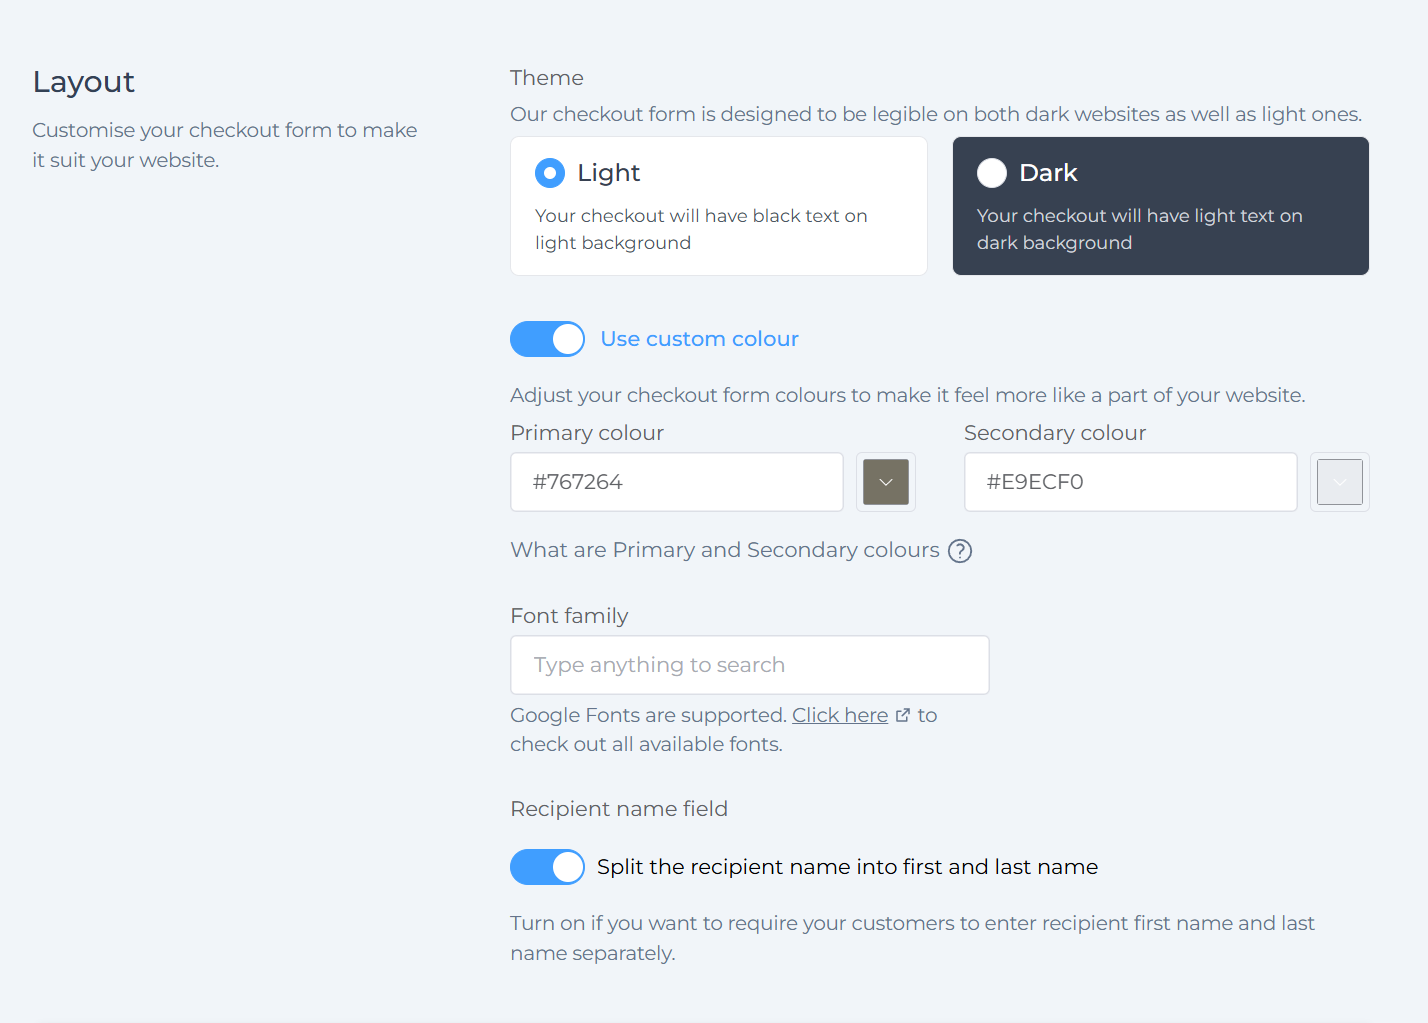
Font family
You can select a font for your checkout form.
- Google Fonts are supported
- Start typing to search for a font
- This font will be applied across the checkout form
Tip:
Choose a simple, readable font that matches your website.
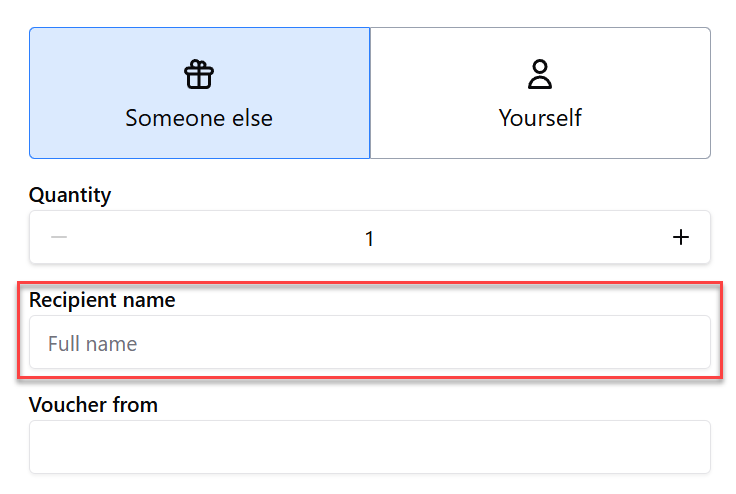
Recipient name field
You can control how the recipient’s name is collected.
Option:
- Split the recipient name into first and last name
Turn this on if:
- You need clearer customer records
- You use names in emails or vouchers separately
If turned off:
- Customers enter the name in a single field

Test mode
Test mode lets you preview and test your checkout form without using a real credit card.
- Click Switch to TEST mode
- Place test orders safely
- Useful when setting up or making changes
Always switch back to live mode when finished testing.

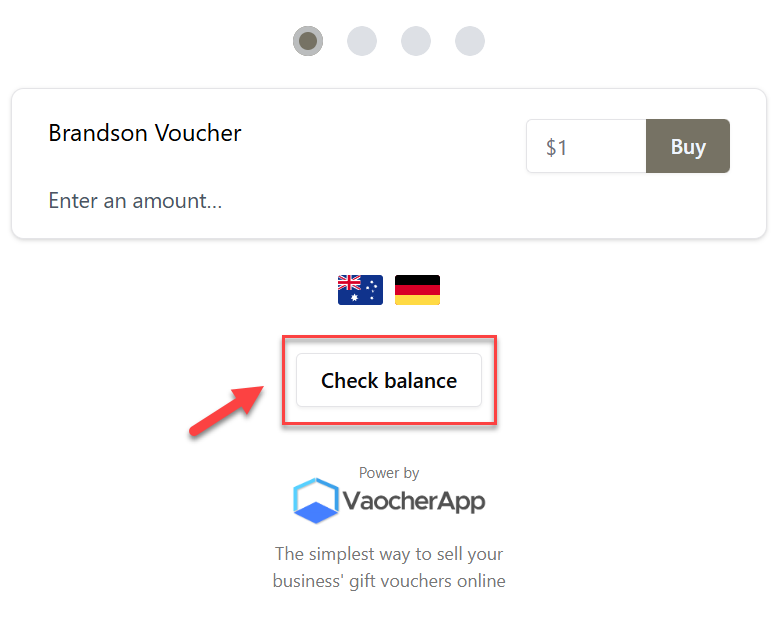
Balance checking
You can allow customers to check their gift card or voucher balance directly on the checkout.
- Turn on Let your customers check their gift card balances
- Customers can enter their voucher code to see remaining balance
This reduces support enquiries and improves customer experience.
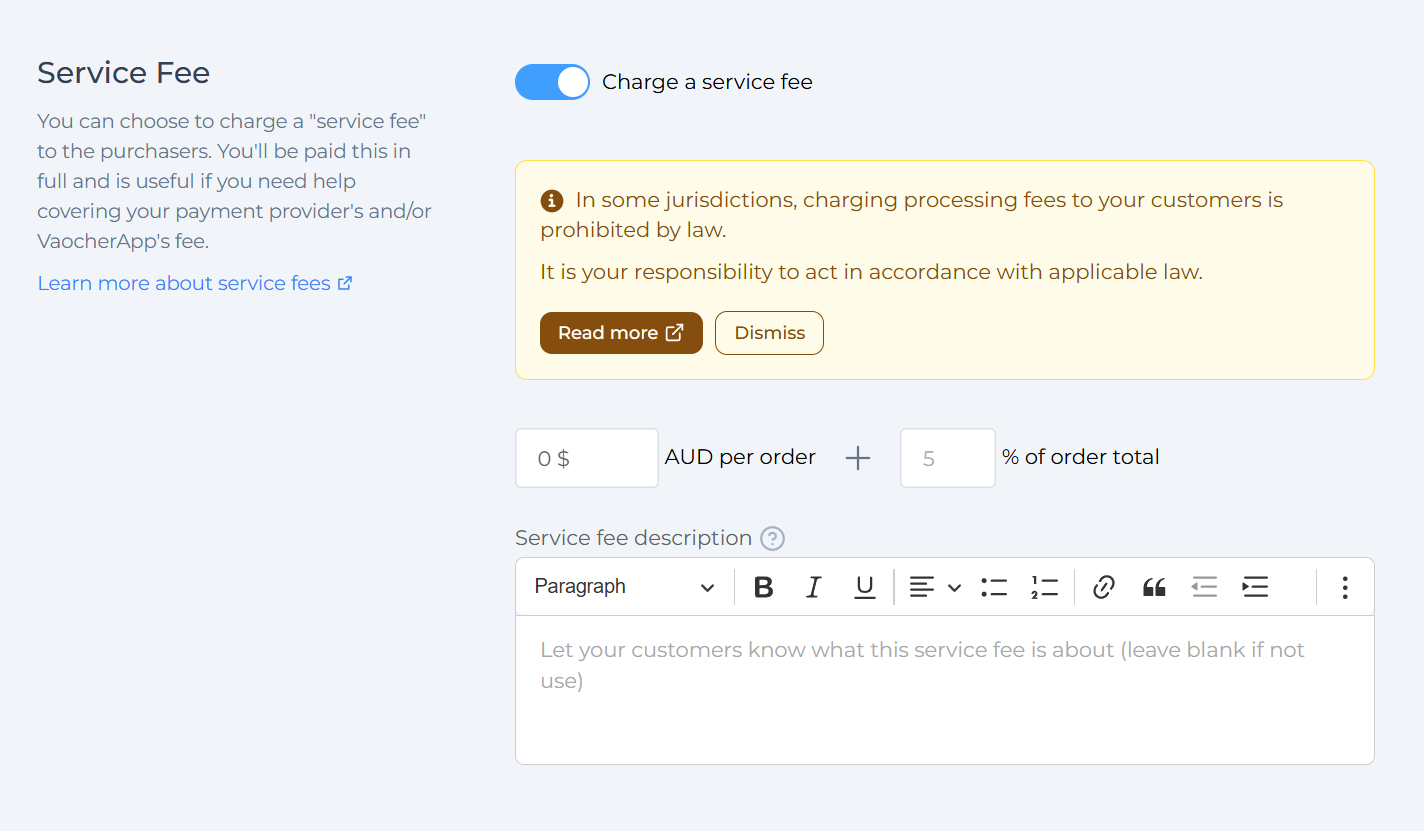
Service fee
You can choose to charge a service fee at checkout.
- Turn on Charge a service fee
- This fee is paid to you in full
- Useful for covering payment provider fees or platform costs
You can learn more via the service fee help link in the dashboard.
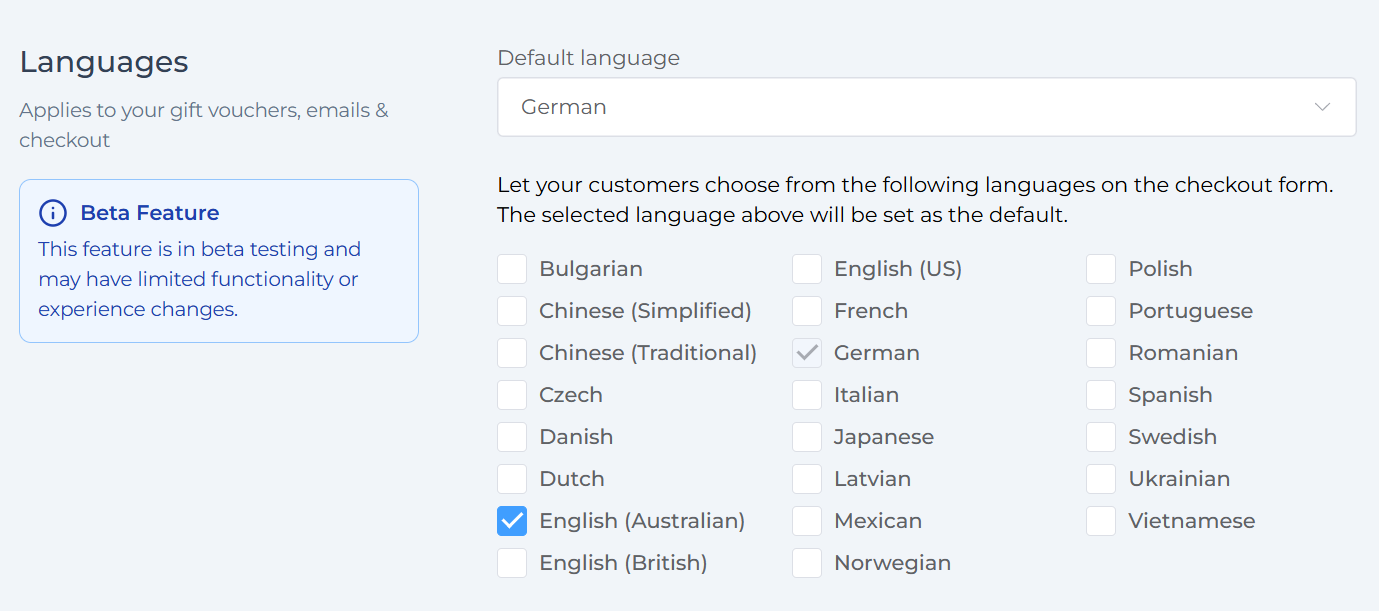
Languages (Beta feature)
You can enable multiple languages on your checkout form.
- Select a default language
- Choose additional languages customers can switch to
- Applies to checkout, vouchers, and emails
Note:
This feature is currently in beta, so some translations may be limited.
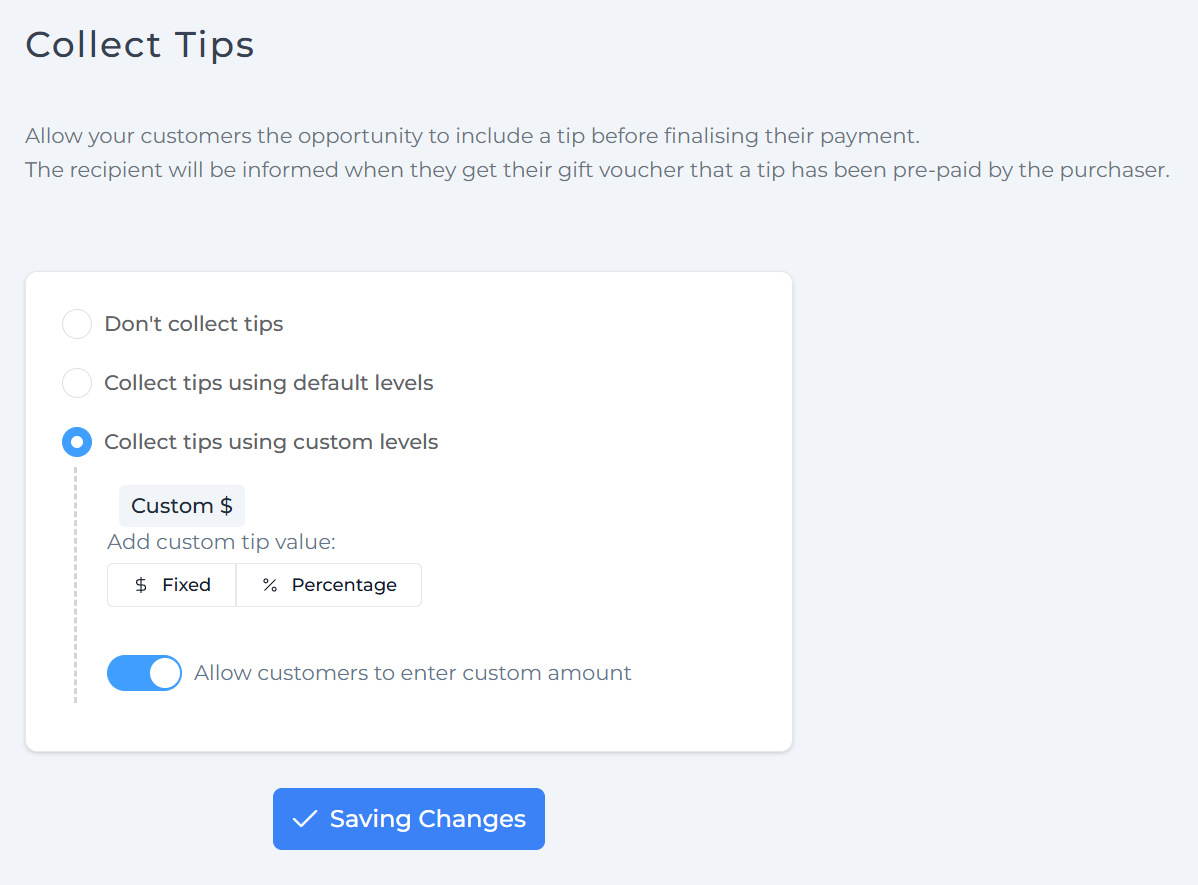
Collect tips
You can allow customers to add a tip before completing payment.
- Click Edit Tips Setting
- Customers can choose to tip during checkout
- The recipient is informed that a tip was prepaid
This is commonly used by hospitality and service businesses.

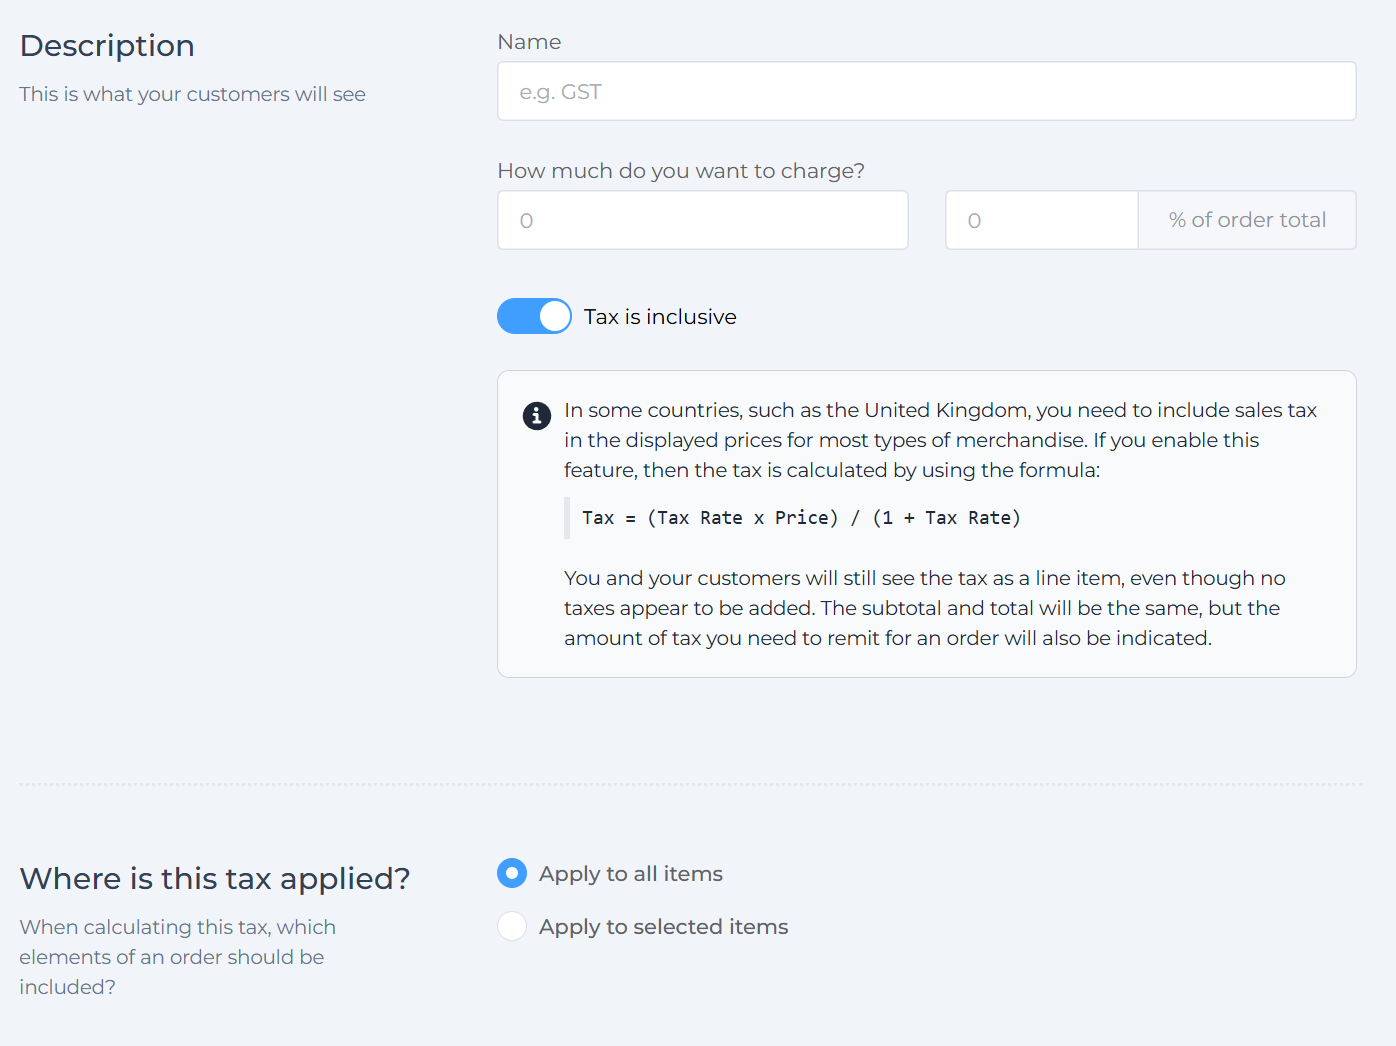
Sales taxes
By default, no additional sales taxes are applied.
You can:
- Add inclusive or exclusive taxes
- Create multiple tax rules
- Edit or remove existing taxes
This is useful for GST, VAT, or regional tax requirements.
Read more: How to apply sales taxes
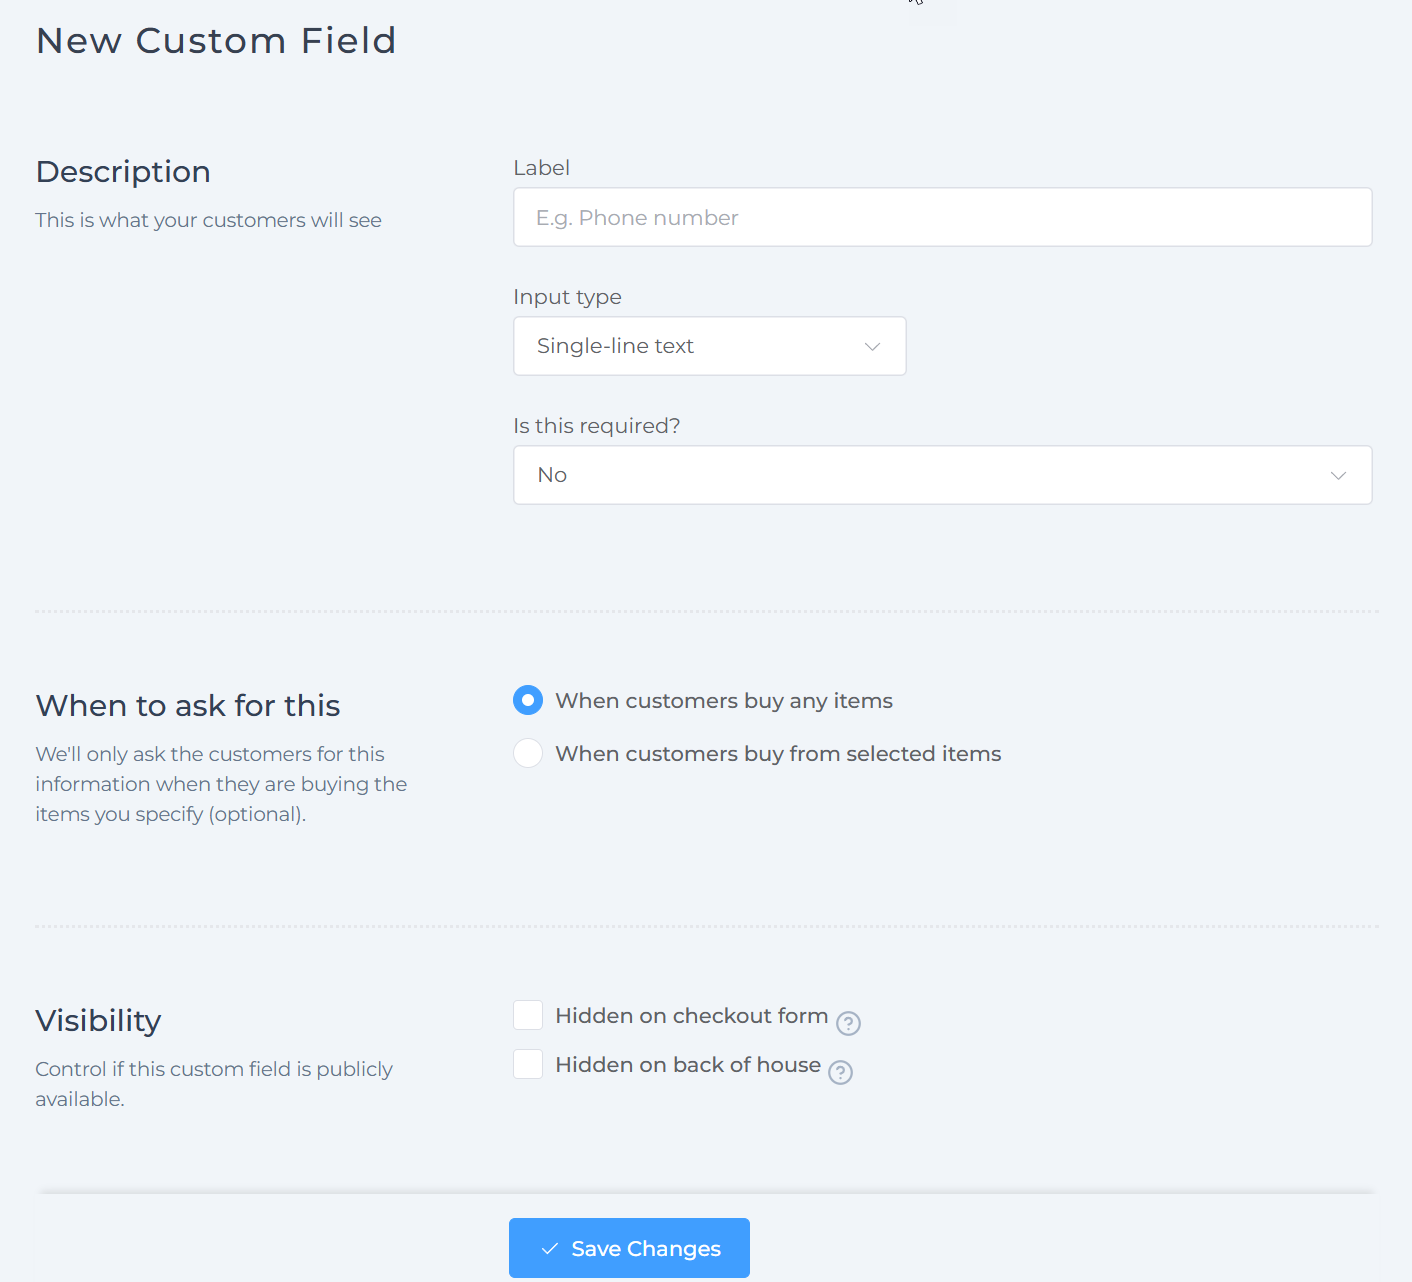
Custom fields
By default, VaocherApp only asks for essential information.
You can add extra fields if needed, such as:
- Phone number
- Date of birth
- Special notes
Each field can be:
- A specific type (text, number, date)
- Required or optional
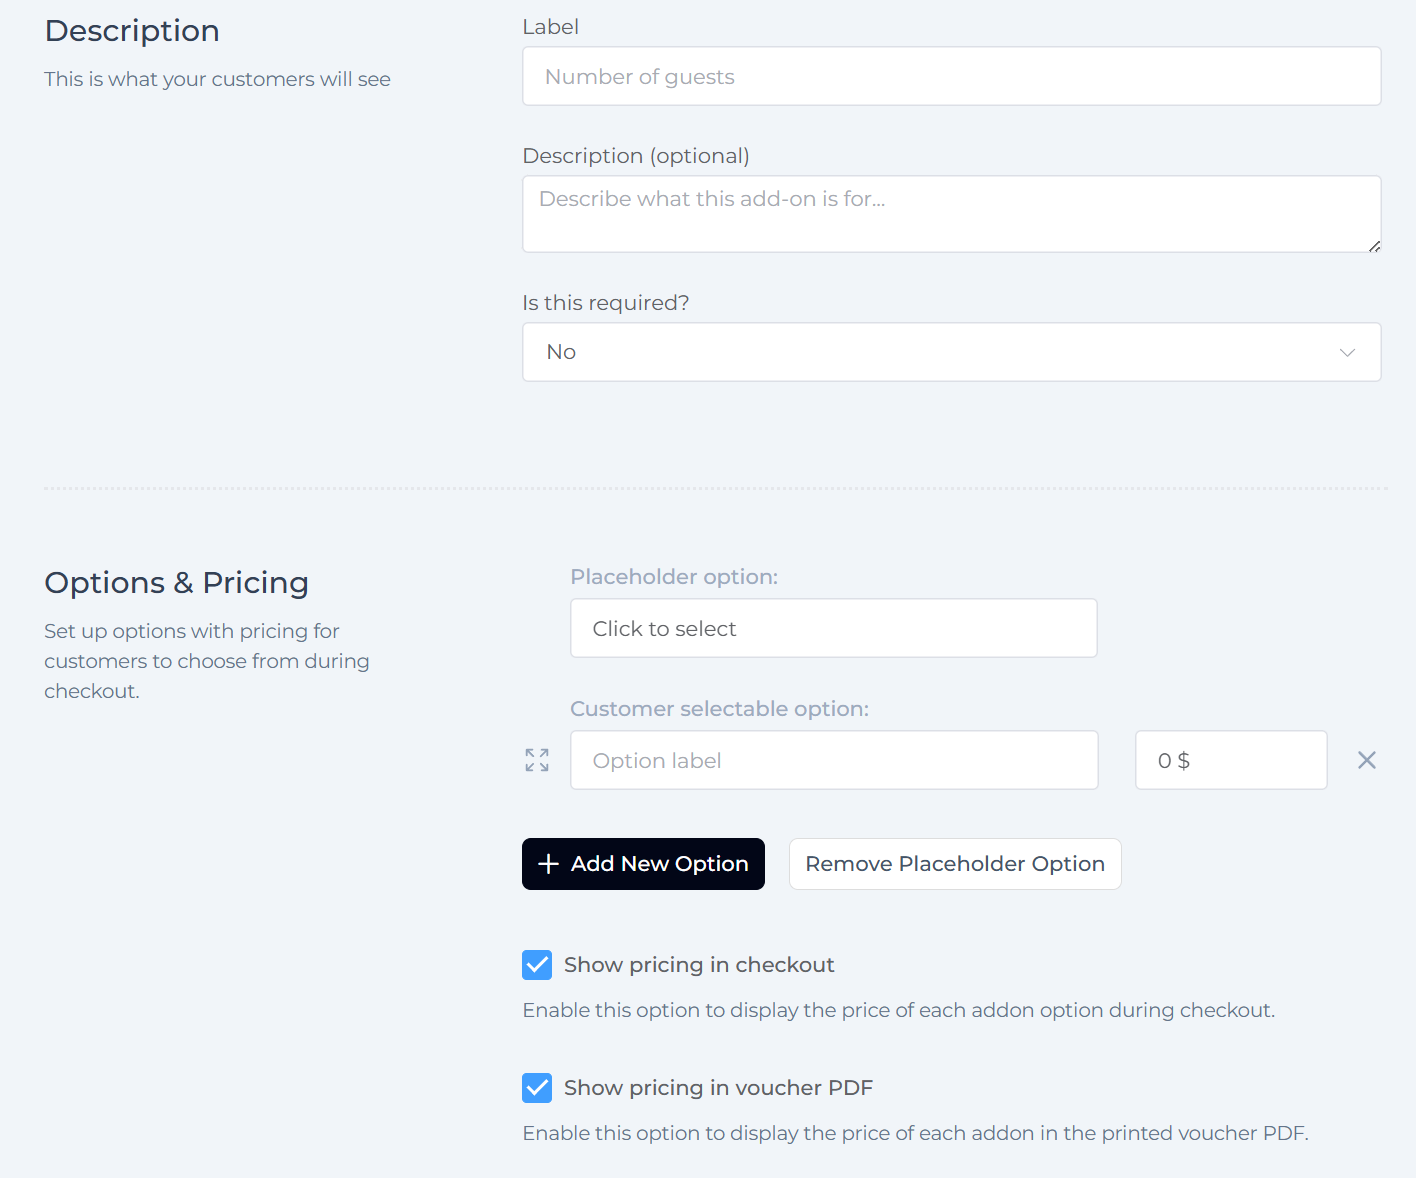
Add-ons
Add-ons let you offer paid extras during checkout.
Examples:
- Gift wrapping
- Printed voucher
- Express delivery
You can:
- Create new add-ons
- Set them as required or optional
- Adjust the total checkout amount automatically
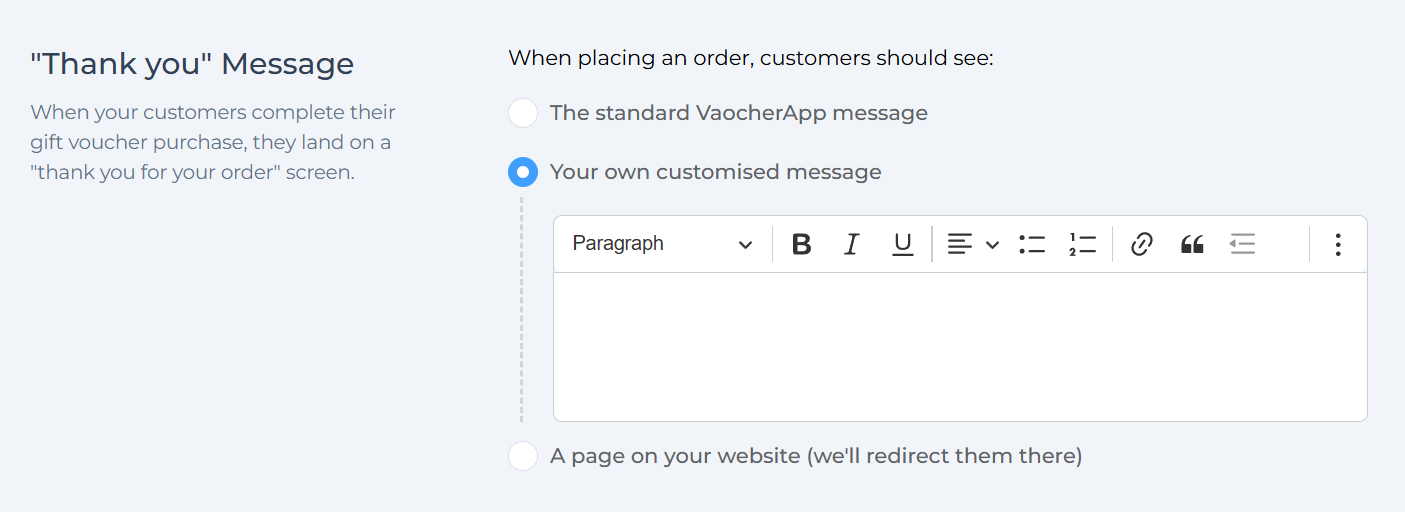
“Thank you” message
Choose what customers see after completing their purchase:
- The standard VaocherApp message
- Your own custom message
- A page on your website (customers are redirected)
This is a great place to:
- Say thank you
- Share next steps
- Link back to your website
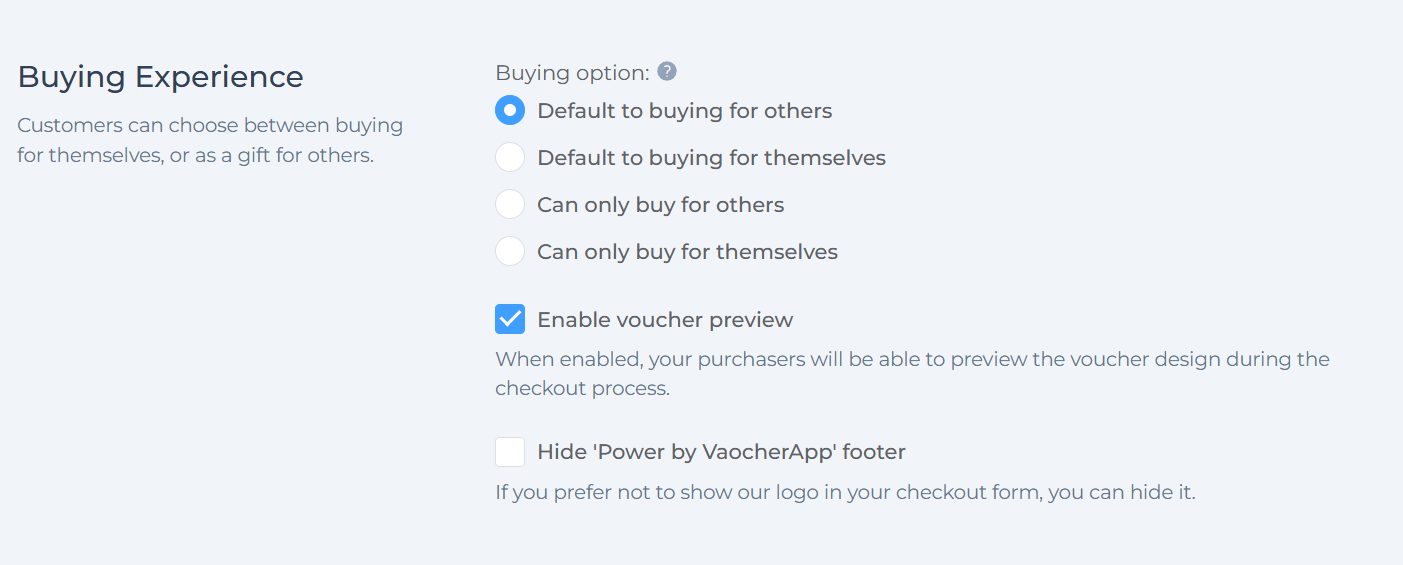
Buying experience
Control how customers purchase vouchers:
Options include:
- Default to buying for others
- Default to buying for themselves
- Only allow buying for others
- Only allow buying for themselves
You can also:
- Enable voucher preview during checkout
- Hide the “Powered by VaocherApp” footer if preferred
Custom messages
You can add your own messages throughout the checkout form.
- Click Edit Custom Messages
- Useful for instructions, policies, or notes
- Helps reduce customer confusion during checkout
Read more: How to customize global messages in VaocherApp
Save your changes
After making any updates, always click Save Changes at the bottom of the page to apply them to your checkout form.