







How to Invite Team Members and Manage Roles & Permissions in VaocherApp
Introduction
Having different team members in your account can help you to manage and keep track of things that happened in your VaocherApp account. You can set permissions to let members access your account without worrying about sensitive information.
A popular example is to have a “staff” member that only has permission to redeem vouchers. This member can log in to your VaocherApp account (using different email and password) and can only search for vouchers and redeem credits. He/She won’t be able to see or make any changes to your account settings, such as your address, menu items, PDF designs, reports…
Inviting Members to Join Your Account
To grow your VaocherApp team, you first need to invite members via email. Follow these steps:
-
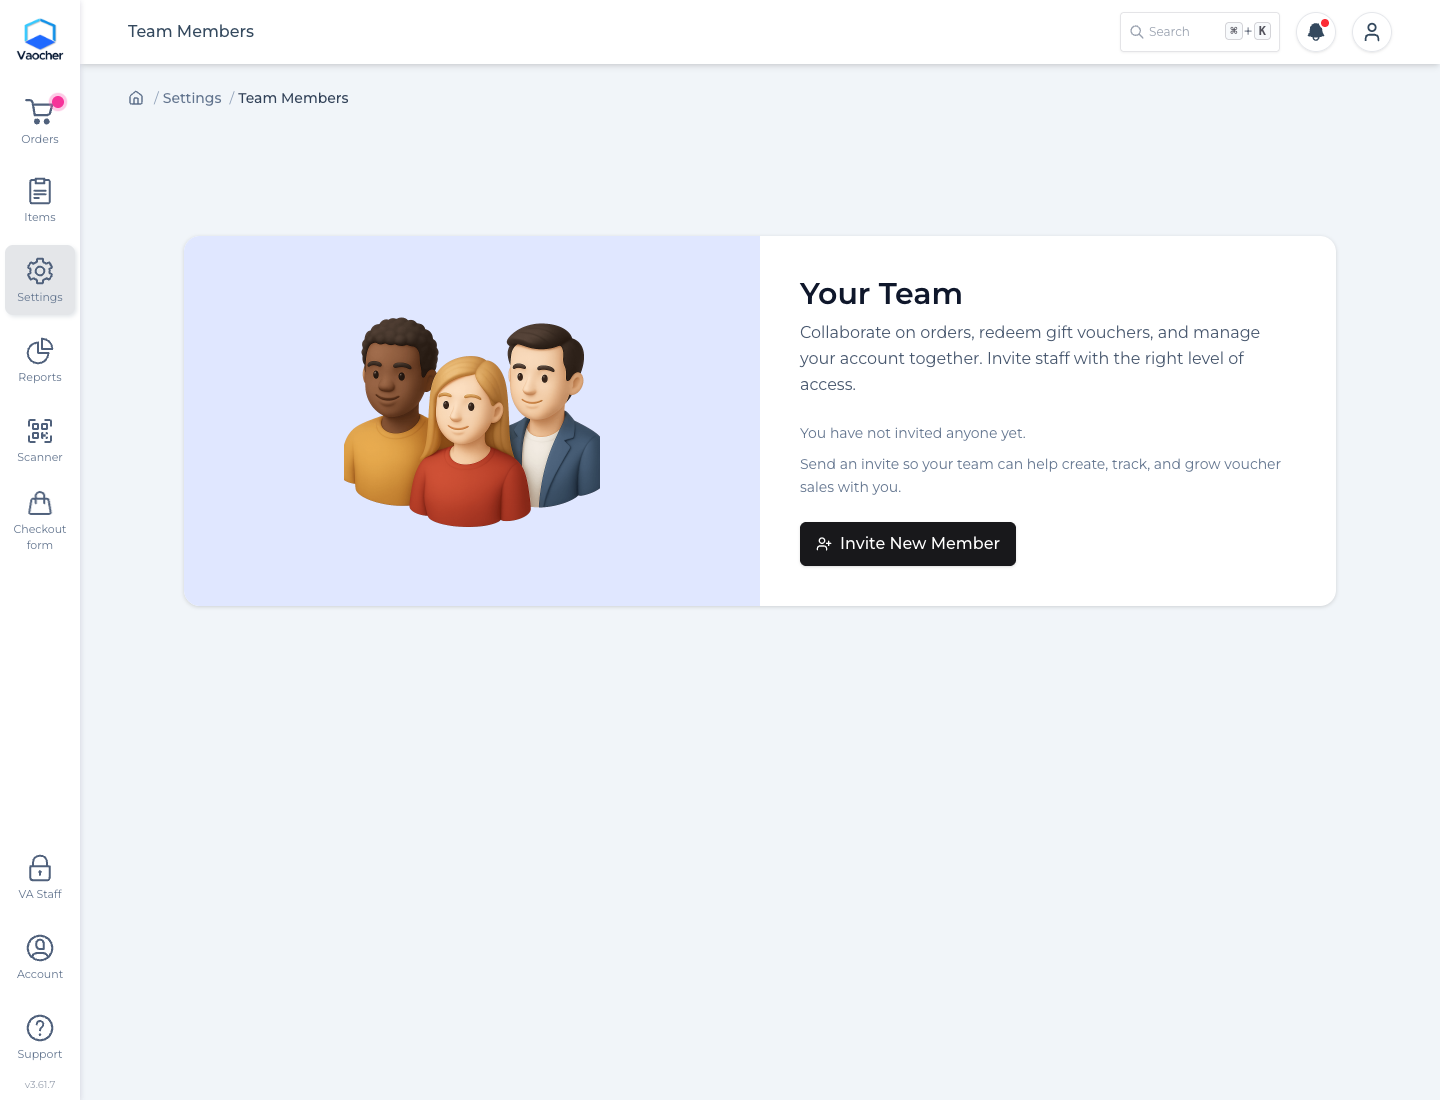
Navigate to Your Team Settings
Go to the Team Members section from your account dashboard. -
Send an Invite
Click on Invite New Member -
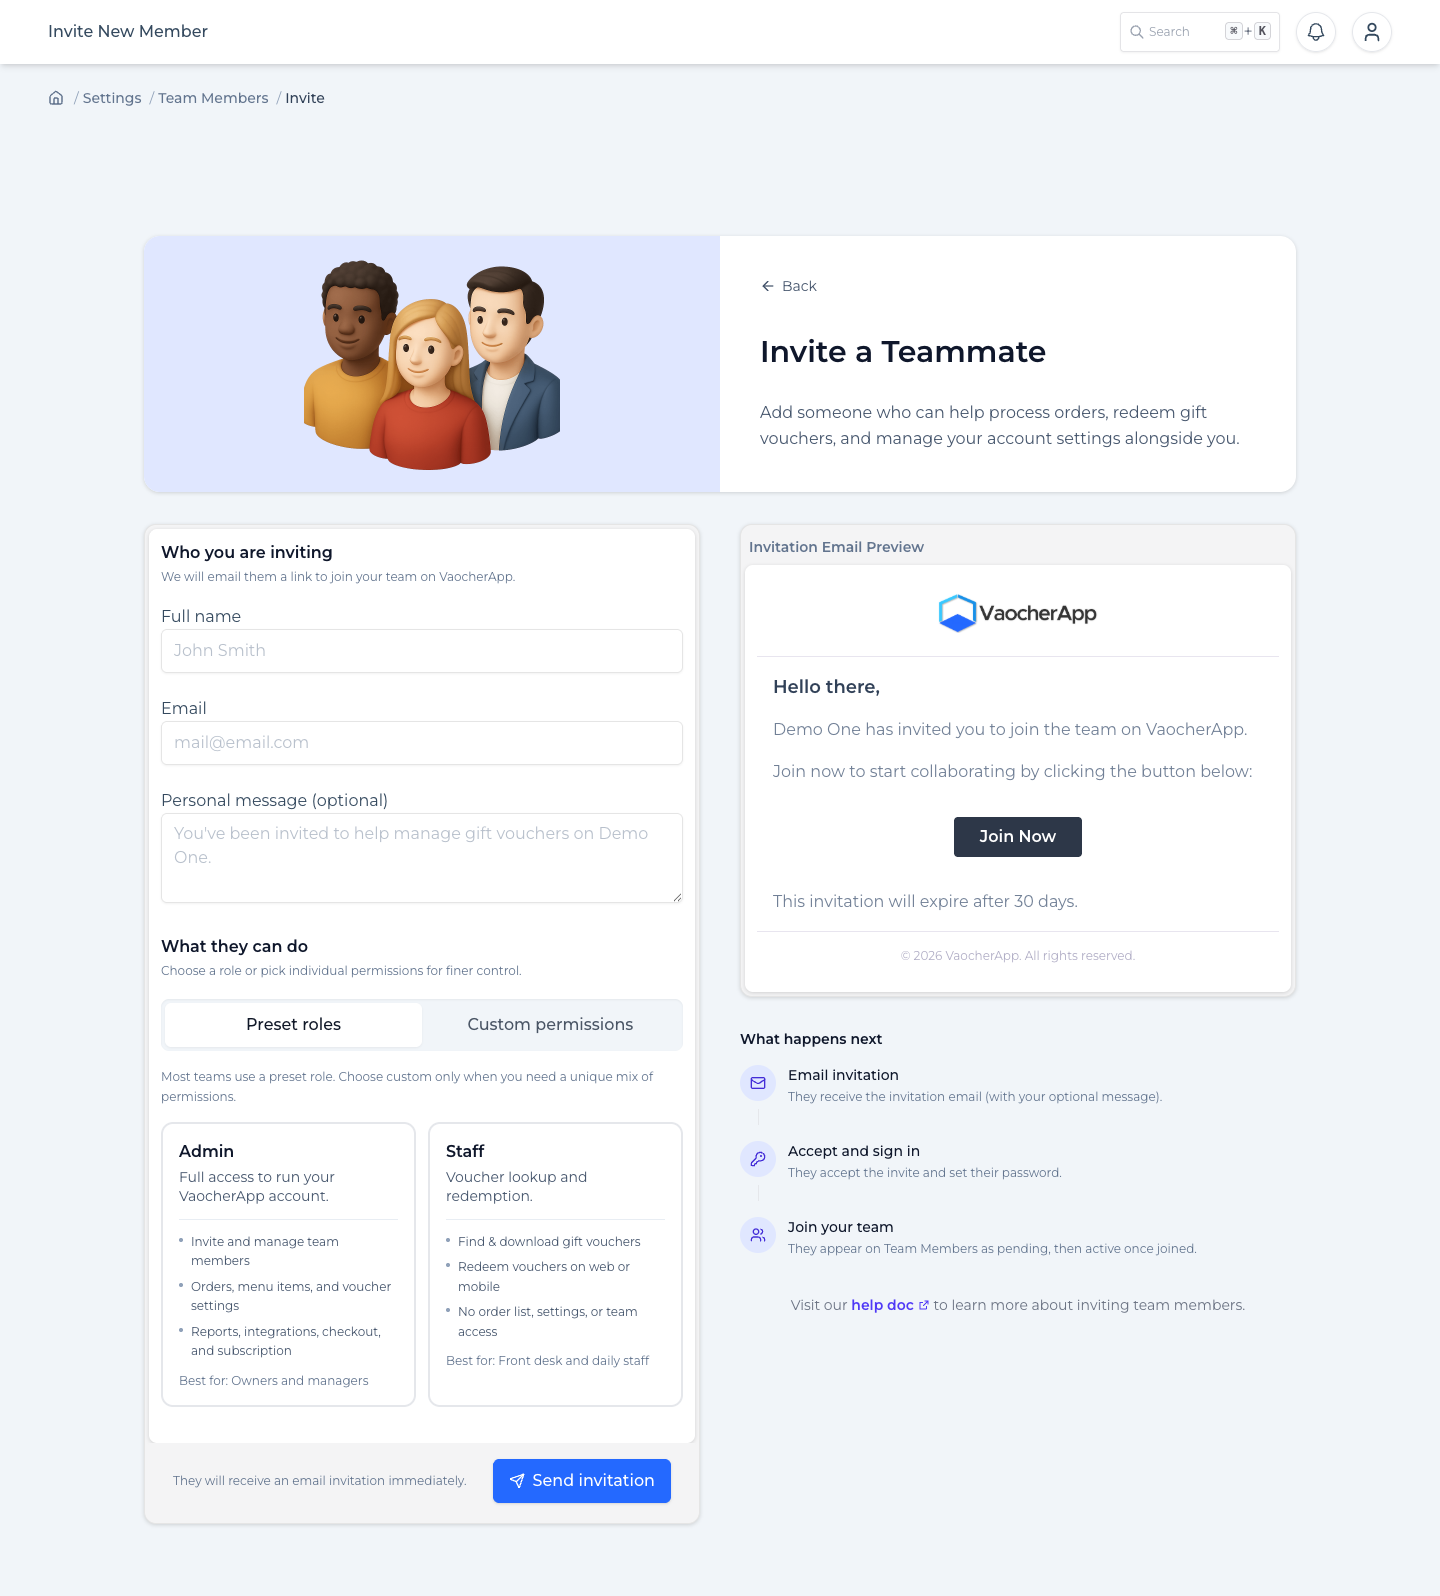
Enter Email Addresses
Input the email addresses of the people you want to invite.
You can invite multiple people by separating emails with commas. -
Select a Role
Choose the appropriate role for them (explained in the next section). -
Send Invitation
Click Send Invite. Your team members will receive an email to join.⚠️ Important: Invitations expire after 30 days from when they are first sent. If the invite is not accepted within this time, it will no longer be valid and may result in errors such as “invite not found”.
You can resend the invitation to reset the 30-day expiry period and generate a new valid link.
Invitation Status & Expiry
When a member has not yet accepted the invitation, you will see a status message in their profile:
- “This invite will expire in 30 days”
- A Get invite link button
- A Re-send invite button
This helps you clearly track pending invitations and avoid confusion.
Key behaviors:
- The 30-day expiry starts from the first time the invite is sent
- If the invite expires, users may see errors like “invite not found”
- Clicking Re-send invite will:
- Send a new email
- Generate a new invite link
- Reset the 30-day expiry period
Managing Team Members’ Roles and Permissions
Once team members have accepted their invitations, you can update their roles and permissions anytime:
- Go to the Team Settings
- Select the team member you want to update
- Click Edit Role & Permissions for fine-grained control
- Adjust their access accordingly
- Click Save Changes
Understanding User Roles and Permissions
VaocherApp offers flexible user roles and permissions so each team member has the right level of access.
Default Roles
-
Admin
Full access to all account features, including:- Manage vouchers
- View analytics and reports
- Manage team members
- Configure account settings
-
Staff
Limited access focused on operations:- Validate and redeem vouchers via the web app only
- Cannot manage team, view reports, or change settings
Customize Access by Switching from Roles to Permissions
In addition to selecting Admin or Staff roles, you can tailor exactly what a user can do by clicking Switch Roles vs Permissions on the invite or edit screen. This provides a detailed permission list, including:
- Order Management: View, edit, create, void, or reactivate orders
- Gift Voucher Credit: Add or redeem credit
- Menu Items: View, edit, create, or remove items
- PDF Design: View, edit, create, or remove PDF voucher templates
- Payment Settings: Configure payment methods
- Checkout Form: Edit checkout setup
- Integrations: Manage app connections
- Installation: View installation info
- Promotions: View, edit, create, or delete promotions
- Reports: View sales and financial data
- Gift Voucher Settings: Update voucher rules
- Mobile App Permissions: Look up/redeem or create gift vouchers via mobile
- Member Management: View, invite, or edit team members
Using custom permissions ensures each team member only accesses the features they need, improving security and workflow.
How the Invitation Email Looks
After sending the invitation, your team member will receive an email like this one:
The email includes:
- The inviter’s account name
- The assigned role (e.g., staff)
- A Join Now button to accept the invitation and create their account
- A note that the invitation expires after 30 days from when it was sent
- A direct link to join if the button doesn’t work
If the invitation expires, the link will no longer work and may show errors such as “invite not found”. In this case, the account owner will need to resend the invitation, which creates a new link and resets the expiry period.
Managing Expired Invitations
If a user cannot accept an invite:
- Go to Team Settings
- Open the member profile
- Click Re-send invite
This will immediately create a new invite and restart the 30-day expiry countdown.
You can also use Get invite link to manually share the latest valid invitation link.
Setting Permissions for Mobile App Access
If your staff members need to validate and redeem vouchers using the VaocherApp mobile app, you must explicitly enable mobile app permissions:
- In the team member’s profile, tick the Mobile App permissions checkbox to grant mobile access
- This allows them to log in and use the mobile app for voucher validation and redemption
Without this permission enabled, staff can only validate and redeem vouchers through the web app.
Summary of Roles and Access
| Role/Type | Web App Access | Mobile App Access |
|---|---|---|
| Admin | Full access | Full access |
| Staff | Validate/redeem vouchers only | Requires Mobile App permission to redeem on mobile |
| Custom Permissions | Varies based on assigned permissions | Based on assigned permissions |
Need Help?
If you have questions about managing your team or setting permissions in VaocherApp, our support team is here to assist:
- Visit our Help Center for detailed guides and FAQs
- Contact support via email: support@vaocherapp.com
- Use the in-app chat for real-time help