


Managing Multiple Locations in VaocherApp: A Step-by-Step Guide
If your business operates across multiple outlets, VaocherApp makes it simple to manage gift card sales and redemptions separately for each location. This guide will walk you through how to add locations, create location-specific items, and generate tailored checkout links. This helps streamline sales tracking and enhances your business insights for each venue.
Step 1: Create and Manage Location-Specific Item Groups
To organize vouchers and gift cards by location, use Item Groups in VaocherApp. This allows you to group items by each outlet and manage them effortlessly.
- Go to the Items page in your VaocherApp dashboard.
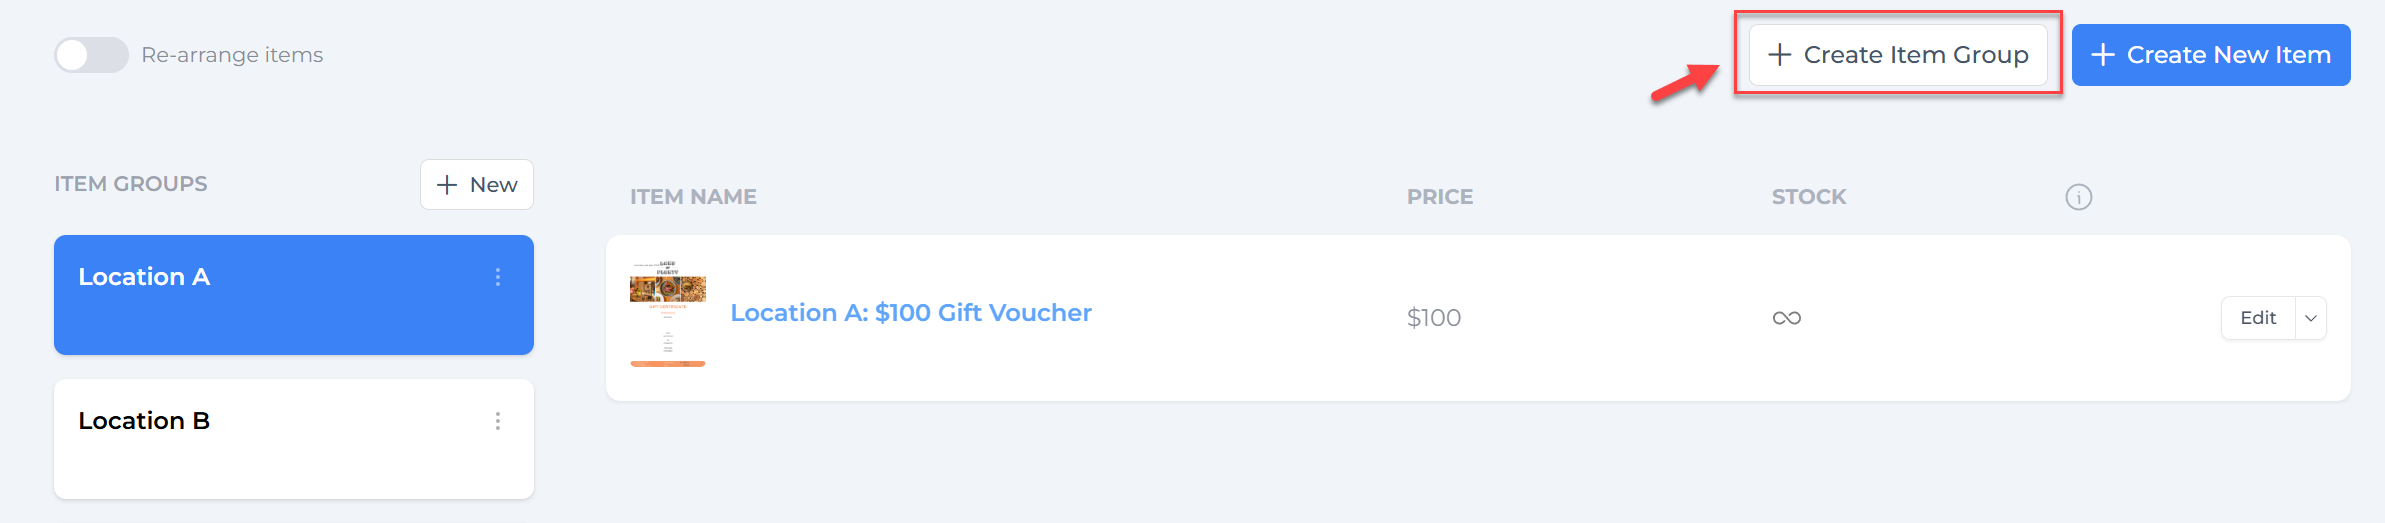
- Click Create Item Group to add a new group for a location (e.g., “Location A”).
- Within each group, create your location-specific gift card or voucher items.
- Repeat this for each outlet, such as “Location B,” to keep items separated by venue.
Using item groups for locations helps you easily assign and track sales per location while simplifying management of your product catalog.
Step 2: Generate Location-Specific Checkout Links
Once you have location-specific items, create checkout links filtered to show only those items for each location. This enables customers to purchase vouchers relevant to a specific venue.
- Go to Settings on your VaocherApp dashboard.
- Click Get your checkout code/link.
- Select Customize checkout link.
- Choose Specific items, then select the items assigned to a location (e.g., Location A).
- Click Copy to clipboard to save the custom URL.
- Paste the URL into your browser to preview or share it directly.


You can use these links on venue websites, social media, or marketing materials, ensuring customers see only the vouchers relevant to each outlet.
Step 3: Tailor Voucher Content per Location
For enhanced personalization, you can customize voucher designs, terms, and settings for each location:
- Update voucher artwork or menu item descriptions to reflect each location’s branding or style.
- Modify expiry dates, discounts, or terms and conditions specific to the outlet.
- Adjust the checkout form and email templates for location-specific messaging.
These customizations help you run targeted promotions and provide a tailored customer experience at each venue.
Benefits of Multi-Location Management in VaocherApp
By using location-specific items and checkout links, you unlock several advantages:
- Accurate sales and redemption tracking per outlet, for clearer performance insights.
- Simplified marketing, enabling location-focused campaigns.
- Streamlined operations with easier order management by venue.
- Detailed reporting to assess revenue and sales trends by location.
Make managing multiple outlets straightforward and data-driven with VaocherApp’s location features.