


How to Generate a QR Code for Your VaocherApp Checkout Link
Using a QR code for your VaocherApp checkout link makes it easy and convenient for your customers to purchase gift vouchers. Instead of typing out a URL, customers can simply scan the QR code with their smartphone camera and be instantly taken to your online checkout page.
This guide will take you through the complete process of generating a QR code for your checkout link and share tips on how to use it effectively for marketing and sales.
Step 1: Find Your VaocherApp Checkout Link
Before creating a QR code, you’ll need your VaocherApp checkout link:
- Log in to your VaocherApp admin dashboard.
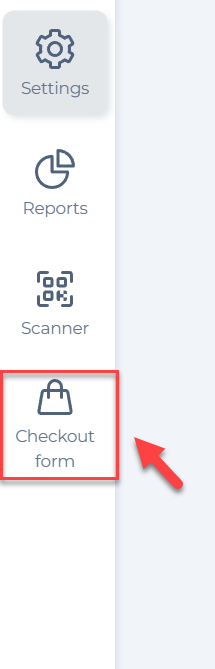
- Go to the Checkout Form section.
- Click on Open Checkout Form or locate your existing checkout URL.
- Copy the full URL of your checkout page.
For a more detailed guide, see: Get direct payment link.
Step 2: Generate a QR Code Using VaocherApp’s Free QR Code Generator
You can easily generate a QR code linking to your checkout URL using VaocherApp’s own free QR code generator here: VaocherApp Free QR Code Generator
Simply paste your checkout link into this tool to create your QR code without needing any third-party services.
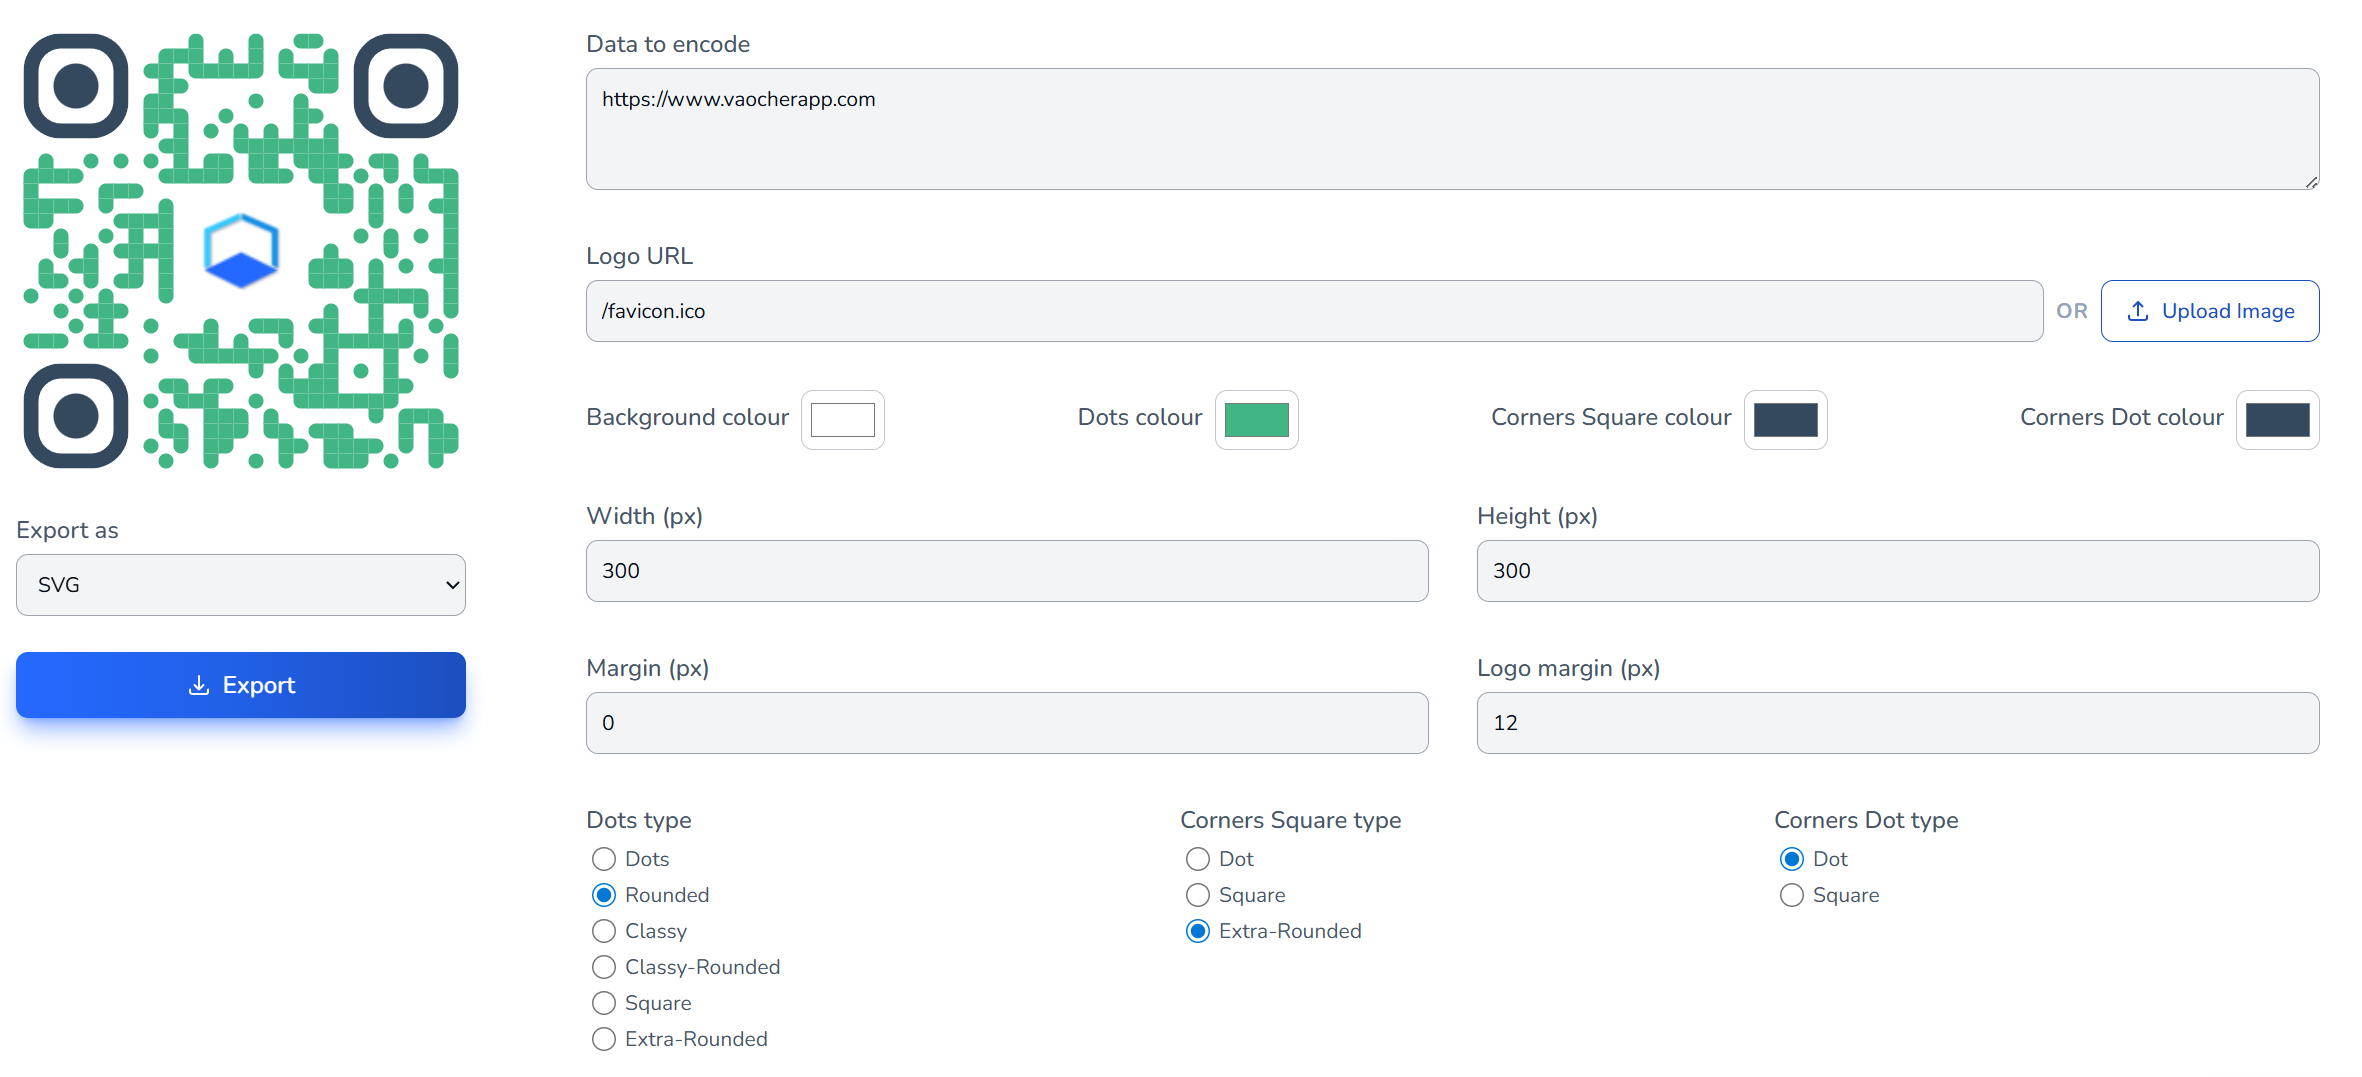
Step 3: Customize and Download Your QR Code
After pasting your checkout link into VaocherApp’s QR code generator, you can customize the design to match your brand:
- Data to encode: This is your checkout URL (already filled in).
- Logo URL / Upload Image: Add your business logo to the center of the QR code.
- Background colour, Dots colour, Corners colour: Choose colors that fit your branding.
- Size: Set the width and height in pixels.
- Dot and Corner styles: Select from dots, rounded, square, or extra-rounded styles to make the QR code more unique.
When you’re happy with the design, export the QR code as a PNG, JPEG, SVG or WEBP file for use in your marketing materials.
Step 4: Test Your QR Code
Before sharing your QR code publicly:
- Scan the code using different smartphones or tablets.
- Confirm it directs users swiftly to your VaocherApp checkout page.
- Make sure the checkout loads correctly on both iOS and Android devices.
Step 5: Share Your QR Code
Maximize your voucher sales by adding your QR code to various materials and locations:
- Print: Flyers, posters, menus, brochures, and receipts.
- In-store: Point of sale counters, bars, reception desks, or waiting areas.
- Online: Website pages, email campaigns, and social media posts.
- Events & Promotions: Let customers buy vouchers quickly at events or special campaigns.
Pro tip: Place a clear call-to-action near your QR code such as “Scan here to buy gift vouchers” or “Tap to gift an experience!”
Additional Tips
- Regularly verify that your checkout link and QR code are still active.
- Create separate QR codes for different campaigns or locations if needed.
- Avoid placing QR codes where they are difficult to scan, such as in poor lighting or on curved surfaces.
- If you change your checkout URL, remember to update and reprint your QR codes accordingly.
Note on VaocherApp Custom QR Codes Feature
VaocherApp also offers a Custom QR Code option as part of your PDF voucher design customization. This feature adds a styled QR code element within the voucher PDF to make your QR codes look unique and consistent with your brand. It does not replace the actual QR code generation, you still need to generate your checkout QR code separately (e.g., via the free QR code generator linked above).