


How to Set Up Multi-Language Support for Gift Vouchers and Checkout
If your business serves customers speaking various languages, providing gift vouchers and checkout forms in multiple languages can greatly improve their experience, remove purchase barriers, and increase your sales. VaocherApp includes built-in multi-language support to help you customise your gift vouchers, checkout pages, and email communications in different languages your customers prefer.
This step-by-step guide explains how to enable, configure, and test multi-language features in your VaocherApp account, ensuring your customers get a smooth, localized experience.
Why Offer Gift Vouchers and Checkout Forms in Multiple Languages?
Implementing multi-language options benefits your business by:
- Broadening Customer Base: Reach local multicultural communities, tourists, and non-native speakers by speaking their language.
- Boosting Sales Conversions: Customers are more comfortable completing purchases when they understand the content fully.
- Enhancing Brand Image: Demonstrating cultural inclusivity increases trust and loyalty.
- Improving Customer Satisfaction: Reduces misunderstandings and supports better overall communication.
Careful localization can give you a significant competitive advantage in diverse or international markets.
Step 1: Enable Multi-Language Feature in VaocherApp Settings
Get started by activating multi-language support and selecting your languages:
-
Log in to your VaocherApp account.
-
Go to Settings → Checkout from the main menu to adjust your checkout experience.
-
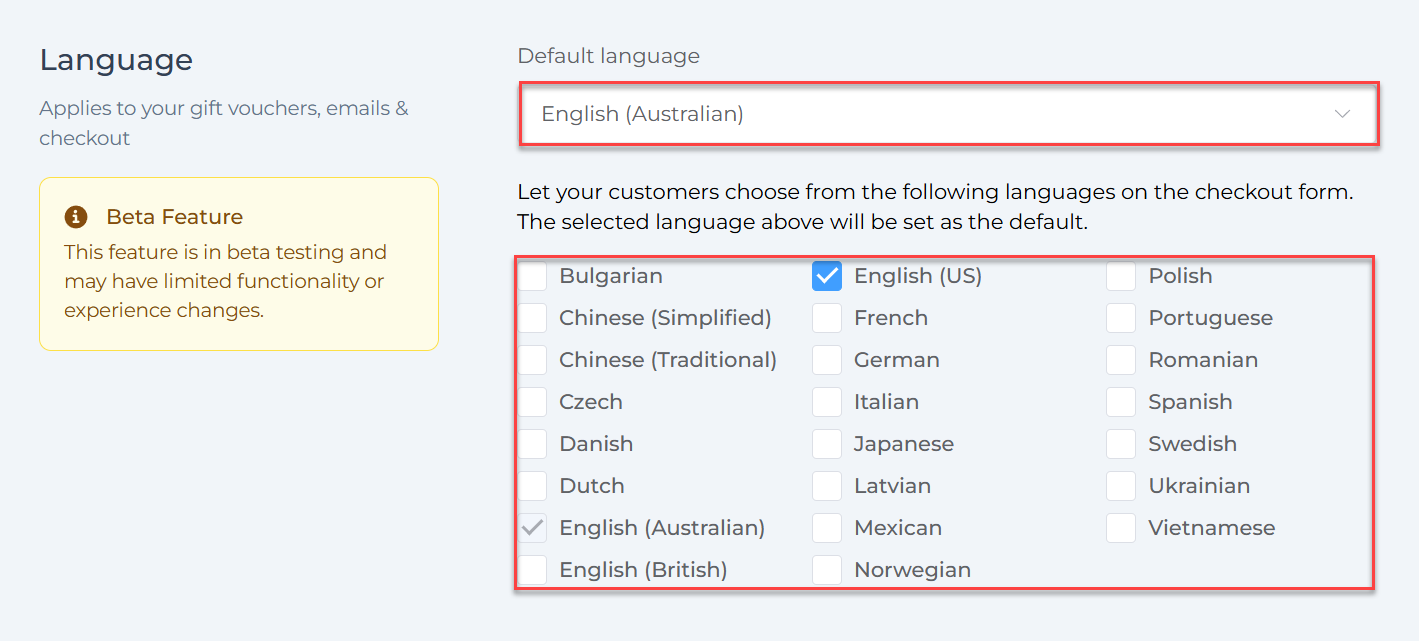
Find the Language section:
- Choose a Default Language — this is what your customers will initially see.
- Below it, select additional supported languages by ticking the checkboxes for each language you want to enable. This allows customers to switch languages during checkout.
-
Click Save Changes at the bottom to activate your language settings.
Step 2: Customize Email Templates for Each Language (Example: German)
To provide a fully native experience, edit your guest notification emails for every enabled language:
-
Navigate to Settings → Email → Purchaser/Recipient in your dashboard.
-
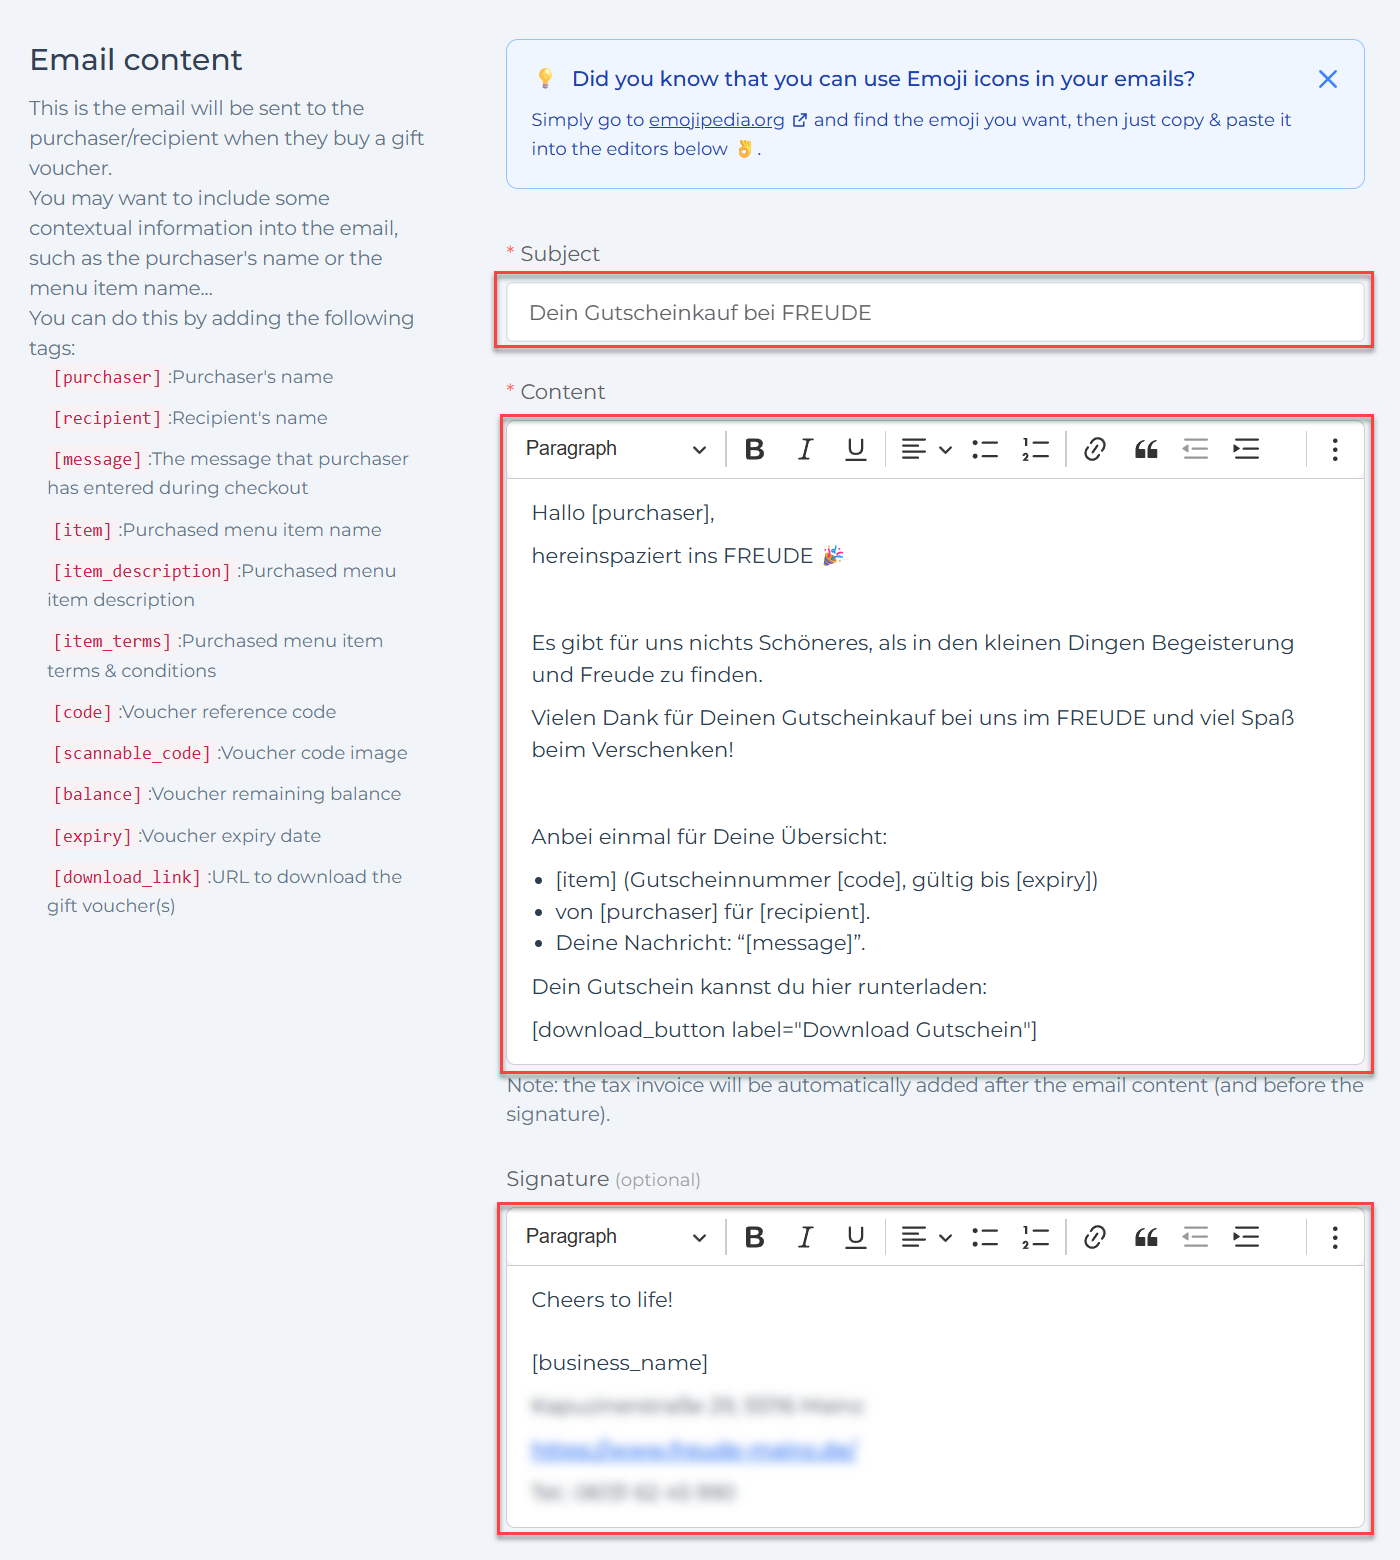
Modify all relevant templates including:
- Purchase confirmation email
- Recipient confirmation email
-
Use placeholders/tags such as
[purchaser],[recipient],[code],[download_link]to insert dynamic content:- Example placeholders:
[purchaser]: Purchaser’s name[code]: Voucher reference code[download_link]: URL to download the gift voucher
- Example placeholders:
-
Adjust the subject, body text, and signatures to maintain tone and accuracy in your chosen language.
-
Save your changes to apply the new email content.
Step 3: Test and Verify Multi-Language Setup
Ensure your multi-language configuration works correctly before going live:
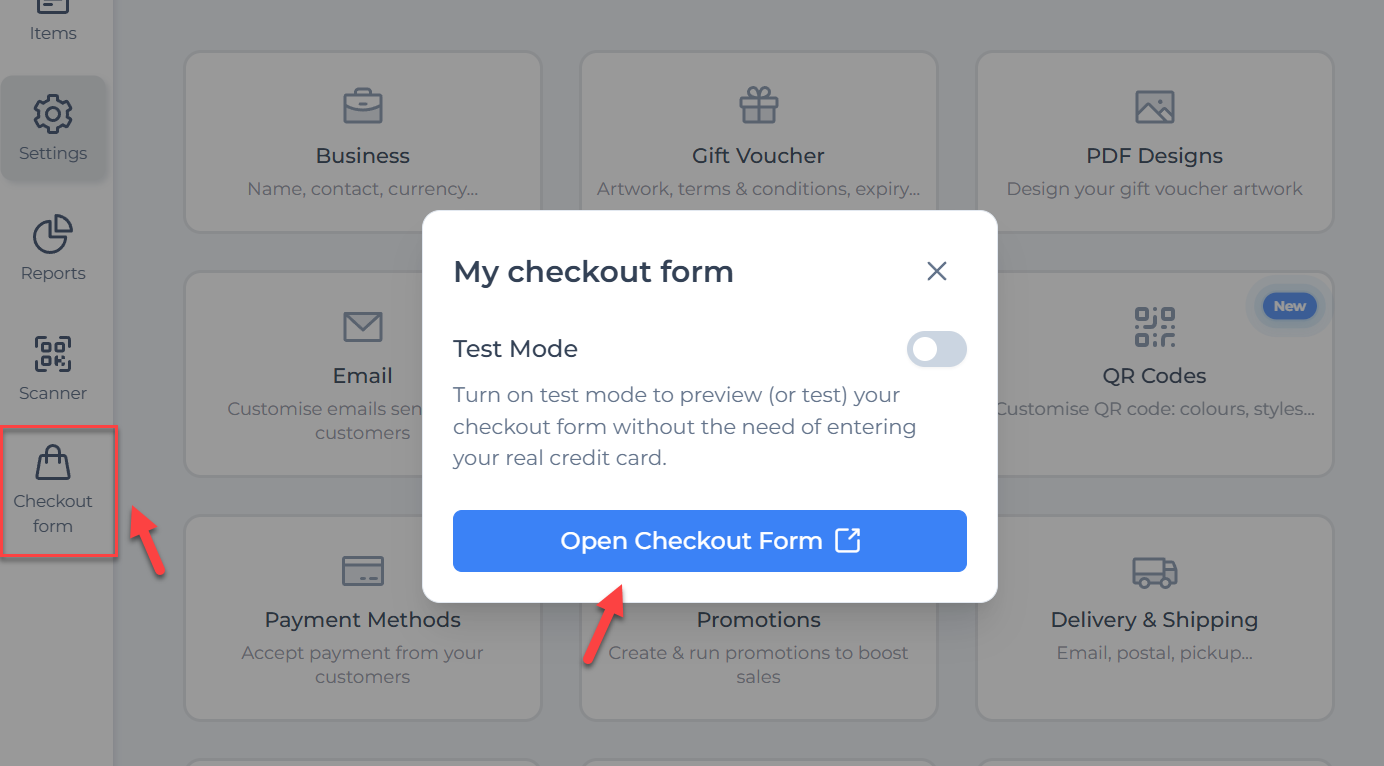
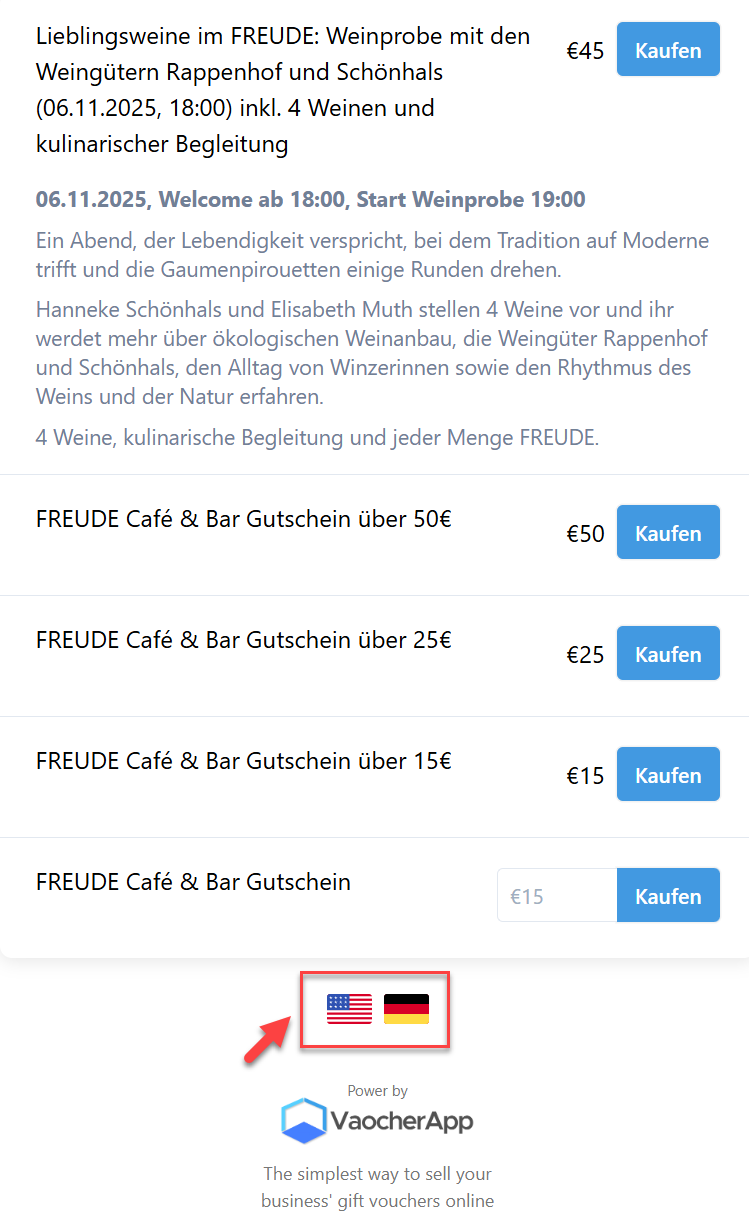
- In Settings, select Checkout Form and click on Open Checkout Form. Switch between enabled languages to check translation accuracy and layout.
- When editing gift vouchers, switch language views in the editor and preview to ensure templates display correctly in each language.
- Place test orders selecting each language option to verify:
- Checkout forms show correct language content.
- Vouchers generate with proper language.
- All notification emails deliver localized content.
See How to enable test mode and place test orders for safe testing instructions without live payments.
- Address any translation or formatting issues found during testing.
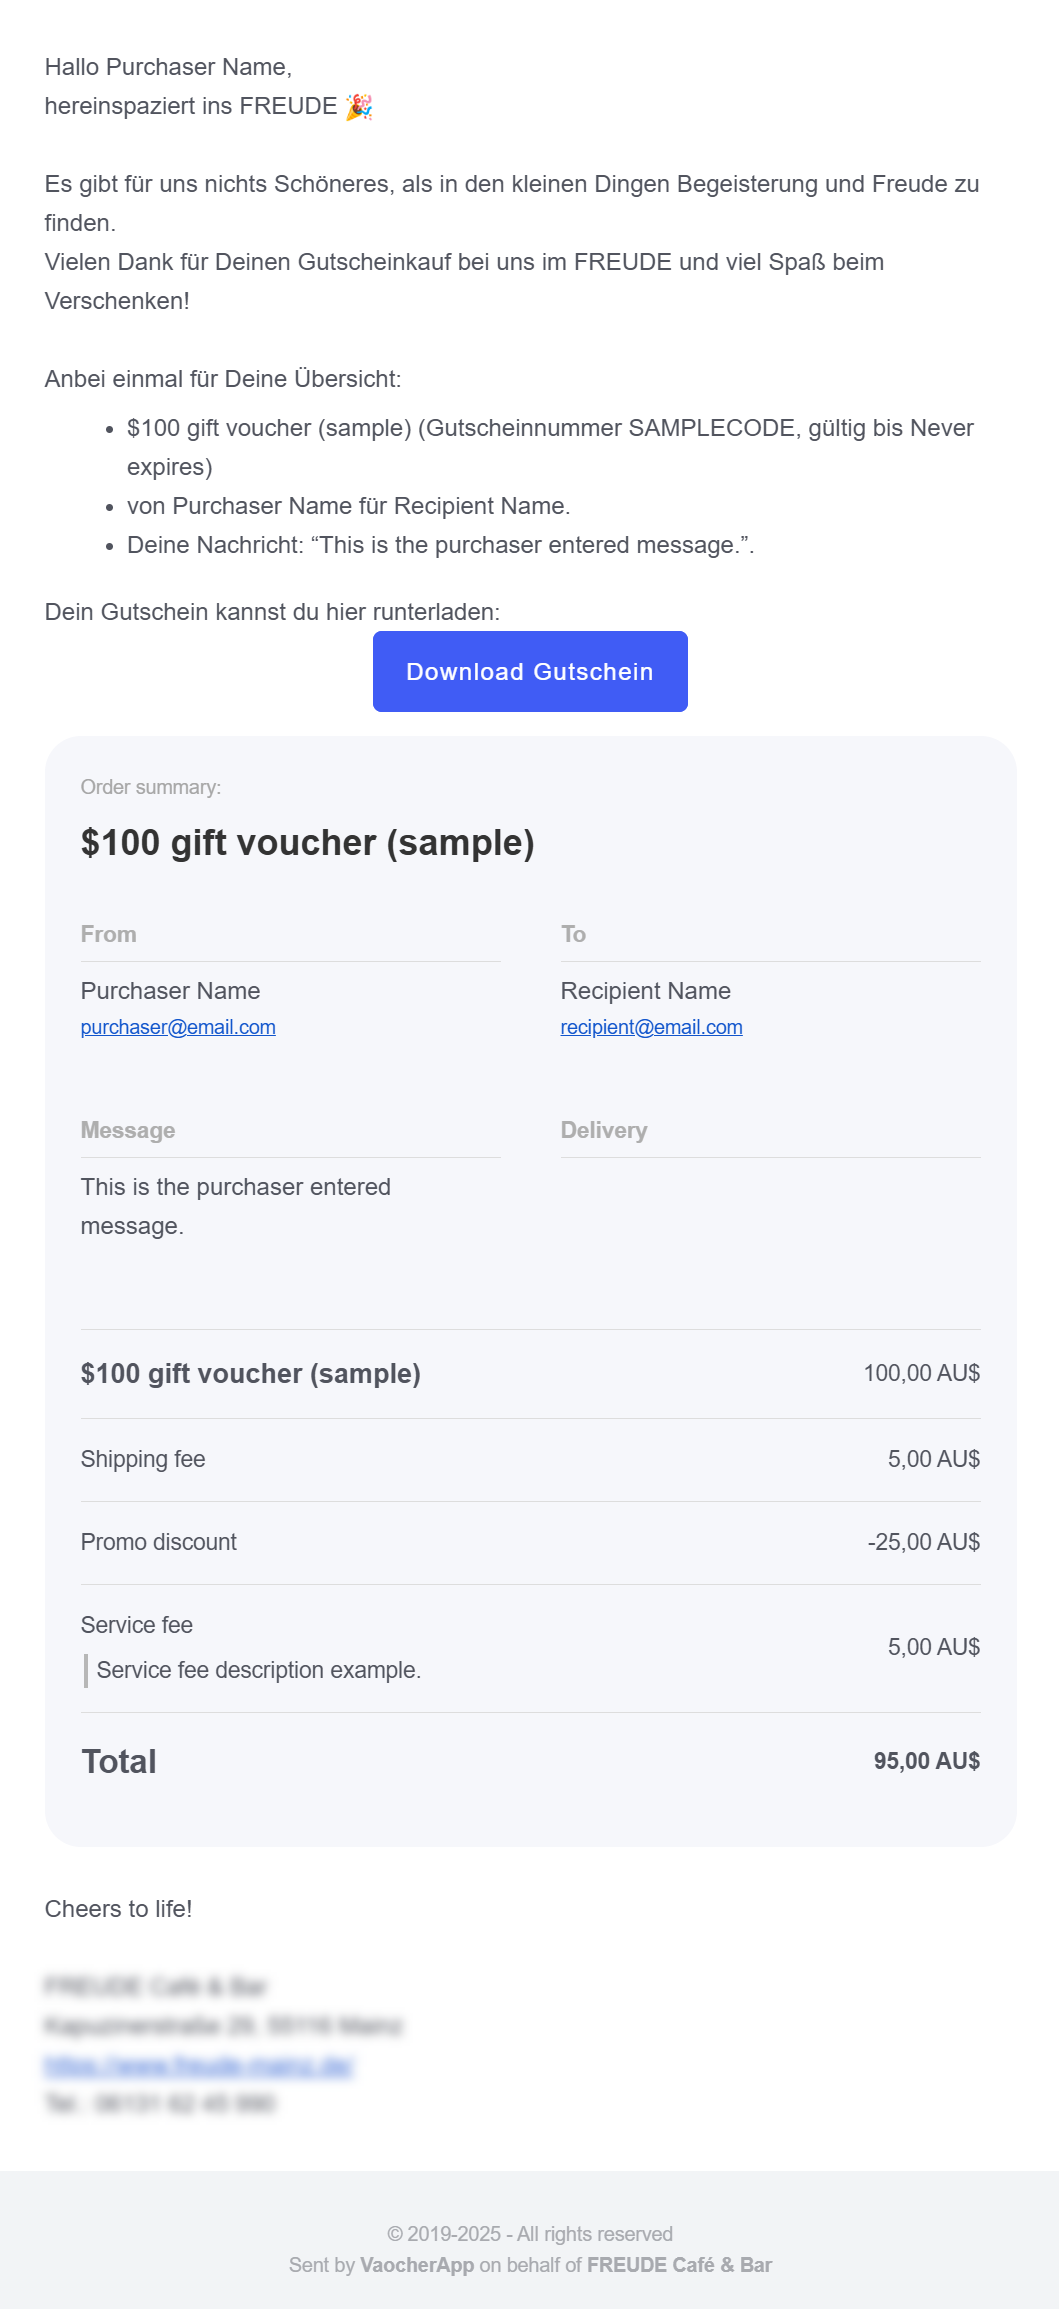
How Will Emails Appear to Customers?
Below is an example of a voucher confirmation email localized in German, showing how personal details and voucher information appear correctly for your audience:
Additional Tips
- Regularly review translations to ensure accuracy, especially after content updates.
- Use customer feedback to improve language options or add new languages.
- Combine multi-language support with regionally targeted promotions for better local engagement. See How to create and run promotion.